The implementation of a dedicated server for games developed with Unreal Engine 5 (UE5) represents a critical strategic decision for developers aiming to deliver robust and scalable multiplayer experiences. This architectural choice moves beyond traditional peer-to-peer (P2P) networking models, addressing inherent limitations in performance, security, and reliability that can significantly impact player engagement and game longevity. This guide outlines the essential steps and considerations for building and configuring a dedicated server for an Unreal Engine 5 project, from initial setup to local deployment and testing, providing a foundation for sophisticated online gameplay.
The Strategic Necessity of Dedicated Servers in Modern Multiplayer Gaming
A dedicated server, in the context of game development, operates as a standalone computing instance specifically designed to host the game world and manage server-side logic. Unlike a "listen server," which co-locates the server process on one of the player’s machines, a dedicated server functions independently, without a graphical interface or an in-game player character. This fundamental distinction underpins its numerous advantages for multiplayer titles.
The evolution of online gaming has increasingly highlighted the shortcomings of P2P or listen server models, particularly as player expectations for seamless, competitive, and large-scale experiences have grown. Listen servers, while cost-effective for small-scale, casual multiplayer games (typically 2-16 players), introduce several critical vulnerabilities. These include potential for cheating due to client-side authority, inconsistent synchronization across clients, and performance degradation on the host machine, which can negatively impact all connected players. For genres like competitive shooters, cooperative survival adventures, or expansive social sandboxes, these issues can be game-breaking, leading to player frustration and ultimately, churn.
Dedicated servers circumvent these problems by providing a centralized, authoritative instance of the game. This ensures consistent game state, mitigates latency disparities, and offers a more secure environment against malicious exploits. The server’s independent operation means it can be hosted on professional infrastructure, ensuring optimal hardware resources and network connectivity, which translates directly to a smoother, more equitable experience for all participants. Industry data consistently shows that games with stable, high-performance online infrastructure tend to have higher player retention and more positive community sentiment. For instance, a 2023 report by Newzoo indicated that multiplayer games continue to dominate the gaming market, with a significant portion of player engagement tied to titles offering robust online services, implicitly relying on stable server architectures.
Prerequisites for Unreal Engine 5 Dedicated Server Development
Embarking on dedicated server development for UE5 requires specific preparatory steps to ensure a smooth build process. The most fundamental prerequisite is a fully functional multiplayer Unreal Engine 5 project. This project should already incorporate network replication and session management, ideally building upon established multiplayer session frameworks. For developers without such a foundation, resources detailing multiplayer session implementation are crucial starting points, as the dedicated server relies on these underlying networking principles to broadcast and manage game sessions effectively.
A critical, non-negotiable requirement for building a dedicated server is the use of an Unreal Engine version compiled directly from source code, rather than the binary version downloaded from the Epic Games Launcher. The source build provides access to specific build targets and configurations necessary for server compilation, which are not available in the launcher version. This includes the ability to generate platform-specific server executables (e.g., WindowsServer, LinuxServer). Epic Games’ documentation provides comprehensive instructions for acquiring and compiling the engine source code, a process that typically involves cloning the Unreal Engine repository from GitHub and building it via Visual Studio for Windows or equivalent toolchains for other operating systems.
Furthermore, for the server to properly advertise and display itself within a session browser, the integration of a specialized plugin such as AdvancedSessions is often necessary. This plugin extends Unreal Engine’s native session management capabilities, offering more granular control and visibility, which is essential for players to discover and join hosted games. Proper installation and configuration of this plugin within the project are vital for the dedicated server to appear correctly in client-side session listings.
Architectural Adjustments for Server Autonomy
To ensure the dedicated server operates efficiently and autonomously, specific modifications within the Unreal Engine project are required. These adjustments focus on enabling automatic session creation, defining the server’s default operational map, and preventing unnecessary resource allocation for non-player entities.
Automated Session Creation and Map Loading:
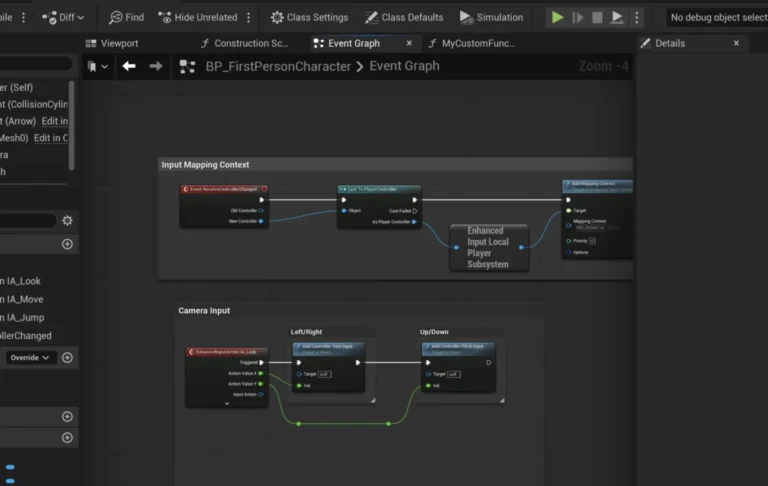
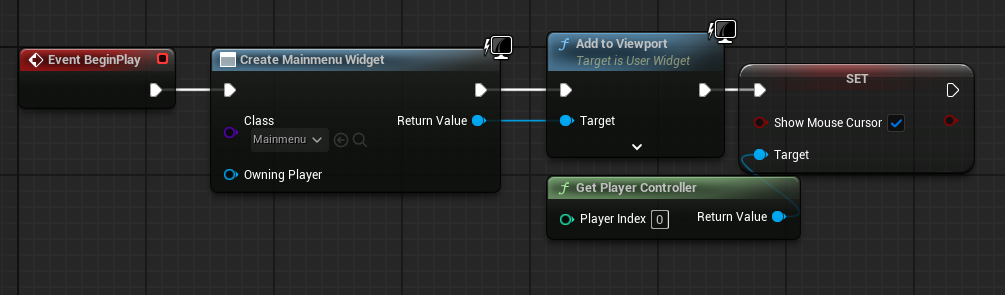
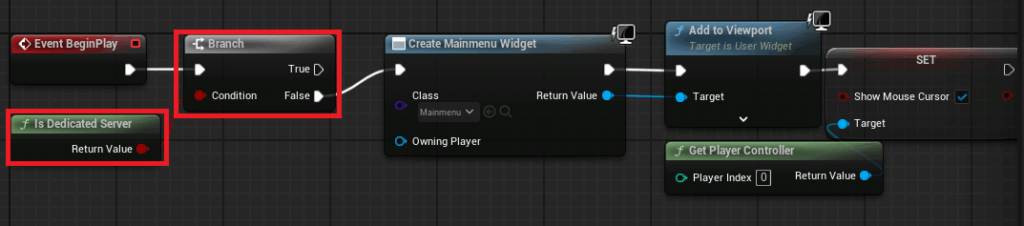
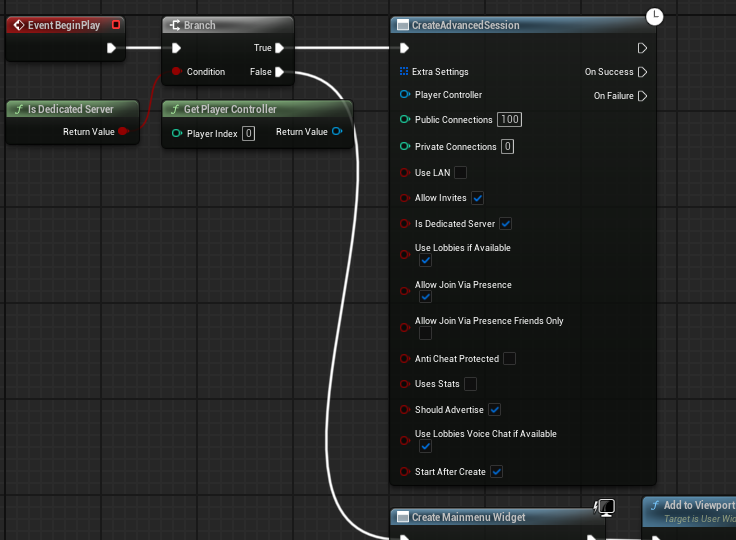
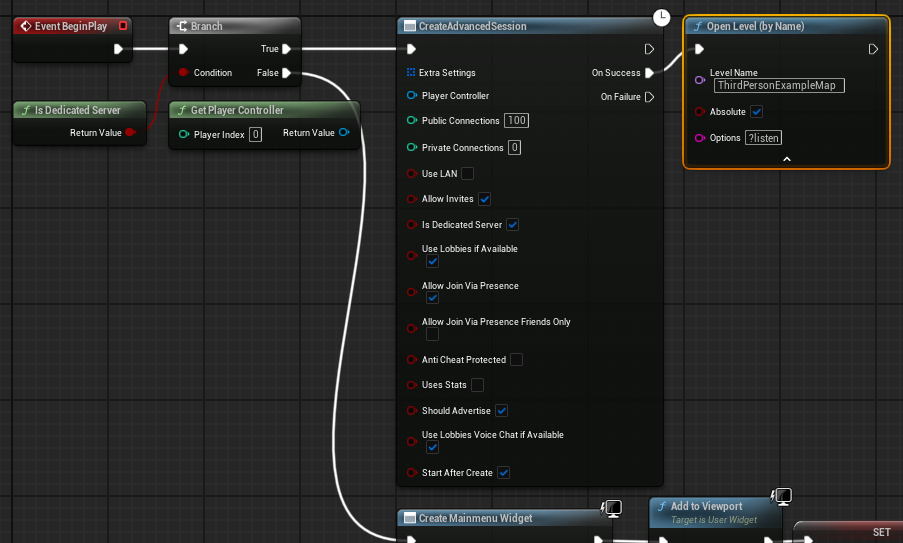
The core of a dedicated server’s autonomy lies in its ability to initialize and host a game session immediately upon launch, without requiring manual input or a user interface. This is achieved by modifying the game’s initial loading sequence, typically within the main menu level blueprint. A conditional check, utilizing the Is Dedicated Server node, is implemented at the start of the game flow. If the game instance detects it is running as a dedicated server, the code path bypasses any client-side UI elements, such as main menu widgets, which would otherwise be irrelevant and consume unnecessary resources.
Instead of displaying a menu, the dedicated server proceeds directly to create an advanced session. This involves using a Create Advanced Session node, configured with desired parameters such as maximum players, session name, and other custom metadata that clients can query. Upon successful session creation, the server then executes an Open Level command, specifying the desired game map. Crucially, this command includes the ?listen option, which instructs the server to open the map in a listening state, ready to accept incoming client connections. This sequence ensures that a dedicated server, once launched, automatically establishes a playable game environment and makes it discoverable to clients.
Defining the Server’s Default Map:
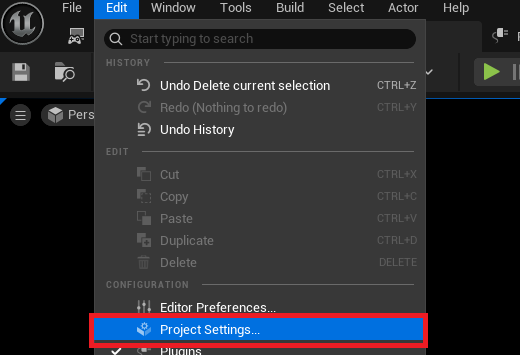
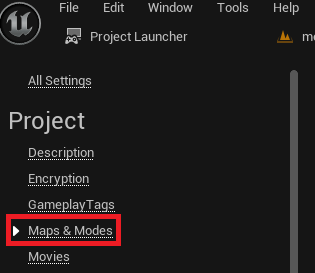
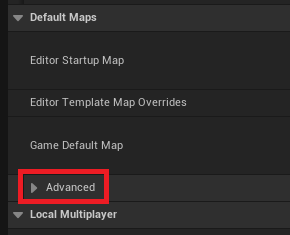
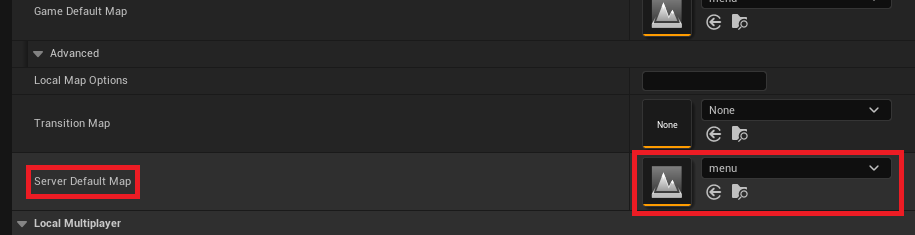
By default, an Unreal Engine server might attempt to load a generic "Entry" map provided by the engine. This behavior is undesirable for a game, as the server needs to start on a specific game or lobby map. This default behavior can be overridden within the Project Settings. Navigating to Edit > Project Settings > Maps & Modes, developers can access advanced options. Within the "Default Maps" section, an "Advanced" dropdown reveals the "Server Default Map" setting. Here, the path to the desired starting map (e.g., a "Menu" map designed to facilitate session joining) is specified. This configuration ensures that the server consistently loads into the correct environment, preparing for player connections.
Eliminating Default Character Spawns:
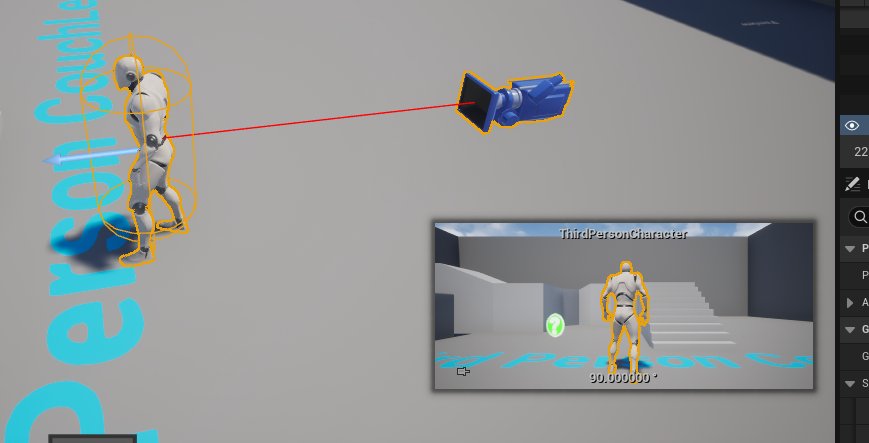
A dedicated server does not function as a player client; it merely hosts the game world. Therefore, spawning a default player character or any client-side-specific entities on the server is redundant and inefficient. Developers must ensure that any blueprints or level scripts that typically spawn player characters for the "authority" (the host in a listen server setup) are either conditionally disabled for dedicated servers or entirely removed from server-only levels. This optimization prevents unnecessary rendering calculations, animation updates, and other client-centric processes from running on the server, conserving resources and improving overall server performance. For example, if a level blueprint typically spawns a character at a specific location, that spawn logic should be wrapped in an Is Dedicated Server check set to False to prevent execution on the server.
Leveraging Unreal Engine’s Project Launcher for Server Builds
The Unreal Engine provides a powerful built-in utility called the Project Launcher, which streamlines the process of building, packaging, and deploying game versions, including dedicated servers. This tool simplifies what would otherwise be a complex command-line compilation process, offering a graphical interface for configuring build profiles.
Accessing the Project Launcher:
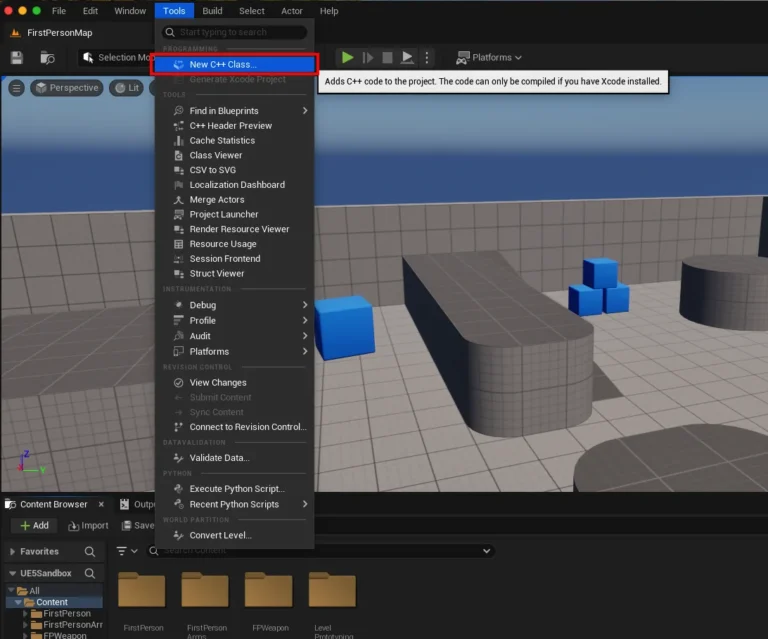
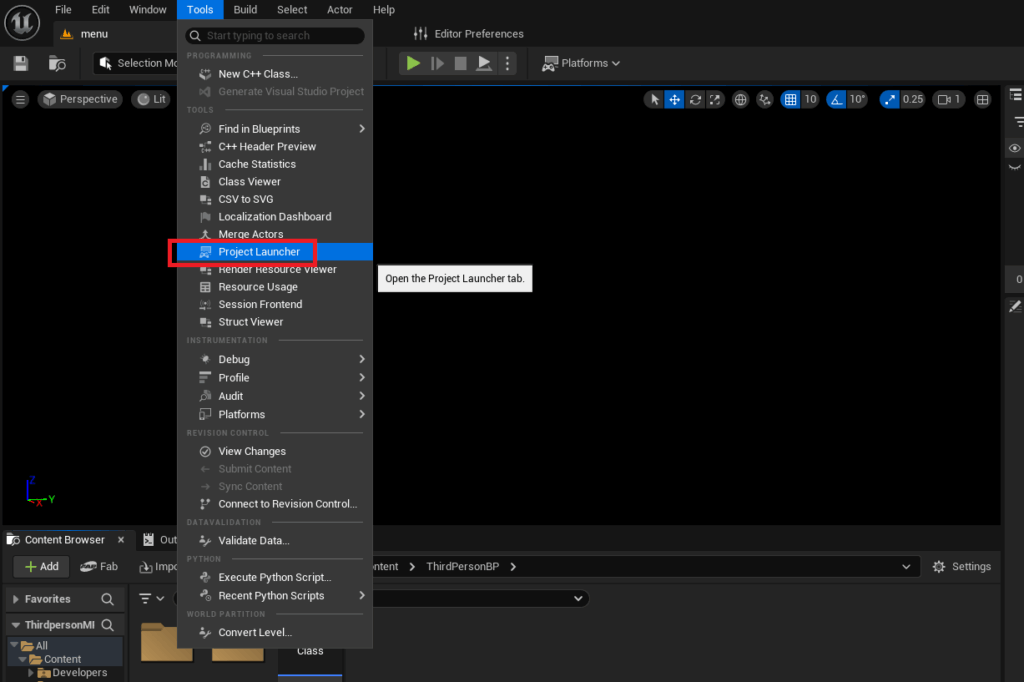
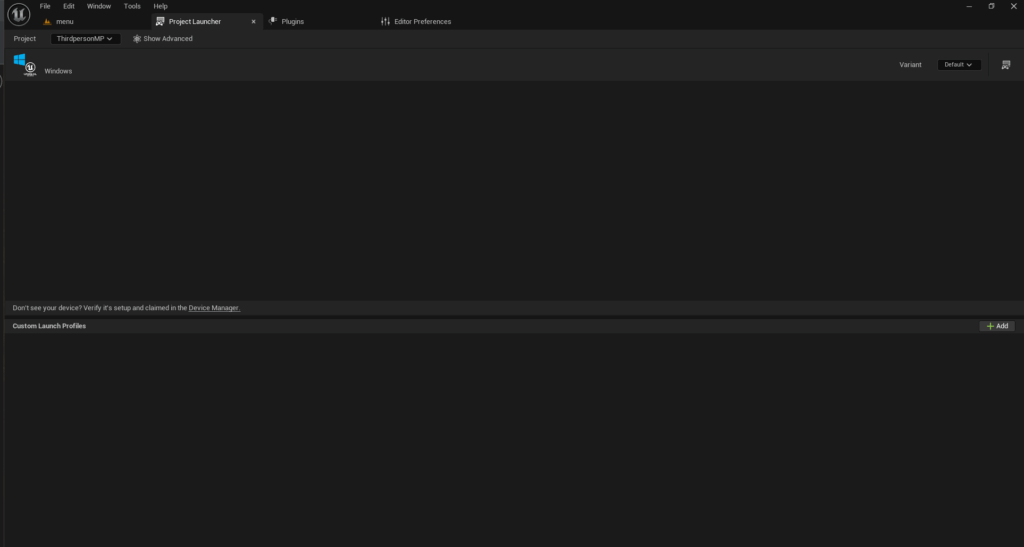
The Project Launcher can be accessed directly from the Unreal Engine editor by navigating to Tools > Project Launcher. Upon opening, users are presented with an interface designed for managing various build configurations. Initially, this interface may appear empty, signifying the need to create custom profiles tailored to specific build requirements.
Creating a Custom Profile:
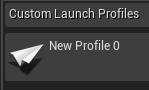
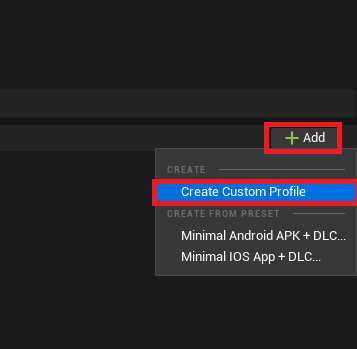
To initiate a dedicated server build, a new custom profile must be created. This involves clicking the "Add" button and selecting "Create Custom Profile." A comprehensive menu of options then appears, allowing for detailed configuration of the build process.
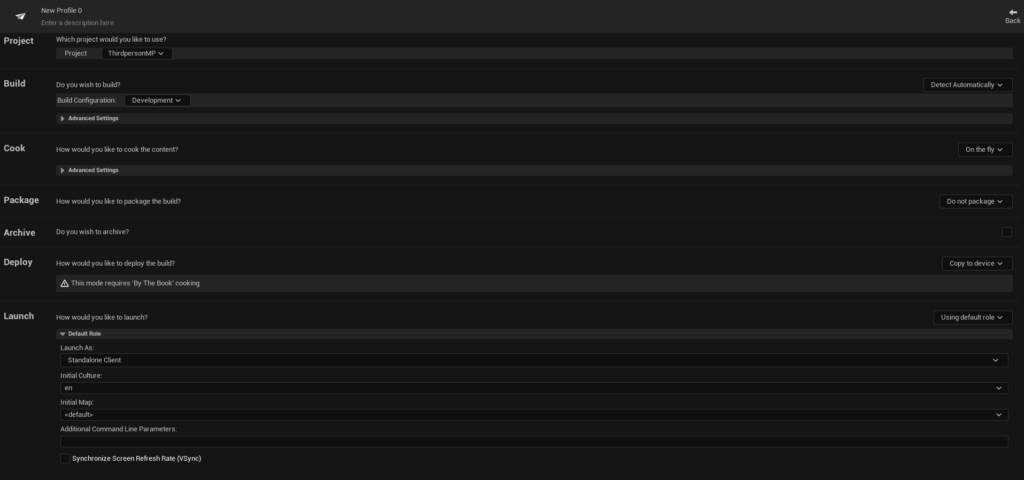
- Cooking Settings: The "Cook" section is critical for preparing game content. The default "On the fly" setting, suitable for editor play, must be changed to "By the book." "By the book" cooking pre-processes all necessary game assets, ensuring they are packaged efficiently and correctly for a standalone server application. This step is vital for performance and stability in a deployed server environment.
- Platform Selection: Within the "Cooked Platforms" list, developers select the target operating system for their dedicated server. For Windows hosting,
WindowsServeris chosen. Alternatively,LinuxServeris available for x86/64 Linux environments, andLinuxArm64for ARM-based Linux servers. The choice depends on the intended deployment environment and infrastructure. - Map Inclusion: It is essential to explicitly select all maps that the dedicated server will need to host. This includes the designated "Server Default Map" and any other gameplay levels that players will transition between. Failure to include a map will result in the server being unable to load it.
- Packaging Options: The "Package" section dictates how the built files are generated. The option "Do not package" must be changed to "Package & store locally." This command instructs the Project Launcher to compile all specified assets and code into a self-contained package and save it to a local directory. The default output path is typically
[YourProjectFolder]/Saved/StagedBuilds/[PlatformName], but this can be customized using the "Browse" button. - Deployment Options: In the "Deploy" section, the default "Copy to device" should be set to "Do not deploy." For dedicated servers, deployment is typically handled manually or via automated scripts on the target hosting environment (e.g., a cloud server or a dedicated machine), making automatic deployment from the editor unnecessary.
- Profile Naming: Finally, assigning a clear, descriptive name to the custom profile (e.g., "MyGame_DedicatedServer_Windows") aids in organization and easy identification, particularly when managing multiple build configurations.
The Server Build Process and Initial Validation
With the custom profile meticulously configured, the next phase involves initiating the build process and subsequently testing the generated dedicated server executable.
Initiating the Build:
Returning to the main Project Launcher menu, the newly created profile will be visible in the list of custom launch profiles. The build process is triggered by clicking the "Launch" button, typically represented by a controller and display icon, associated with the custom profile.
Monitoring Progress:
Upon initiation, the Project Launcher displays a progress window, detailing the various stages of the server build, including cooking content, compiling code, and packaging assets. This window provides real-time logging and debugging information. The initial build, especially for a complex project, can be time-consuming, potentially taking several hours depending on project size and hardware specifications. Subsequent builds, benefiting from cached assets, are generally faster. Developers must allow this process to complete fully, ensuring all tasks report success before proceeding.
Locating the Executable:
Once the build process has successfully concluded, the dedicated server executable and its associated files will be located in the directory specified during profile creation. If the default path was used, this would be [YourProjectFolder]/Saved/StagedBuilds/[PlatformName], for example, [YourProjectFolder]/Saved/StagedBuilds/WindowsServer. Within this folder, a subfolder named after the project will contain the server executable (e.g., MyGameServer.exe).
Testing the Dedicated Server Locally:
To test the dedicated server effectively on a local machine, it is highly recommended to launch it with a console window for monitoring.
- Create a Shortcut: First, create a desktop shortcut to the server executable (e.g.,
MyGameServer.exe). - Add Launch Argument: Right-click the shortcut, select "Properties," and in the "Target" field, append
-logto the existing path. For example:"C:PathToMyGameSavedStagedBuildsWindowsServerMyGameBinariesWin64MyGameServer.exe" -log. This argument forces the server to open with a command-line window, displaying all internal logging messages, which is invaluable for debugging and understanding server behavior. - Launch and Monitor: Launch the shortcut. The console window will fill with text, indicating the server’s initialization, loading of the default map, and the creation of the multiplayer session. This output confirms that the server is running and ready to accept connections.
Demonstrating Multi-Client Connectivity and Performance
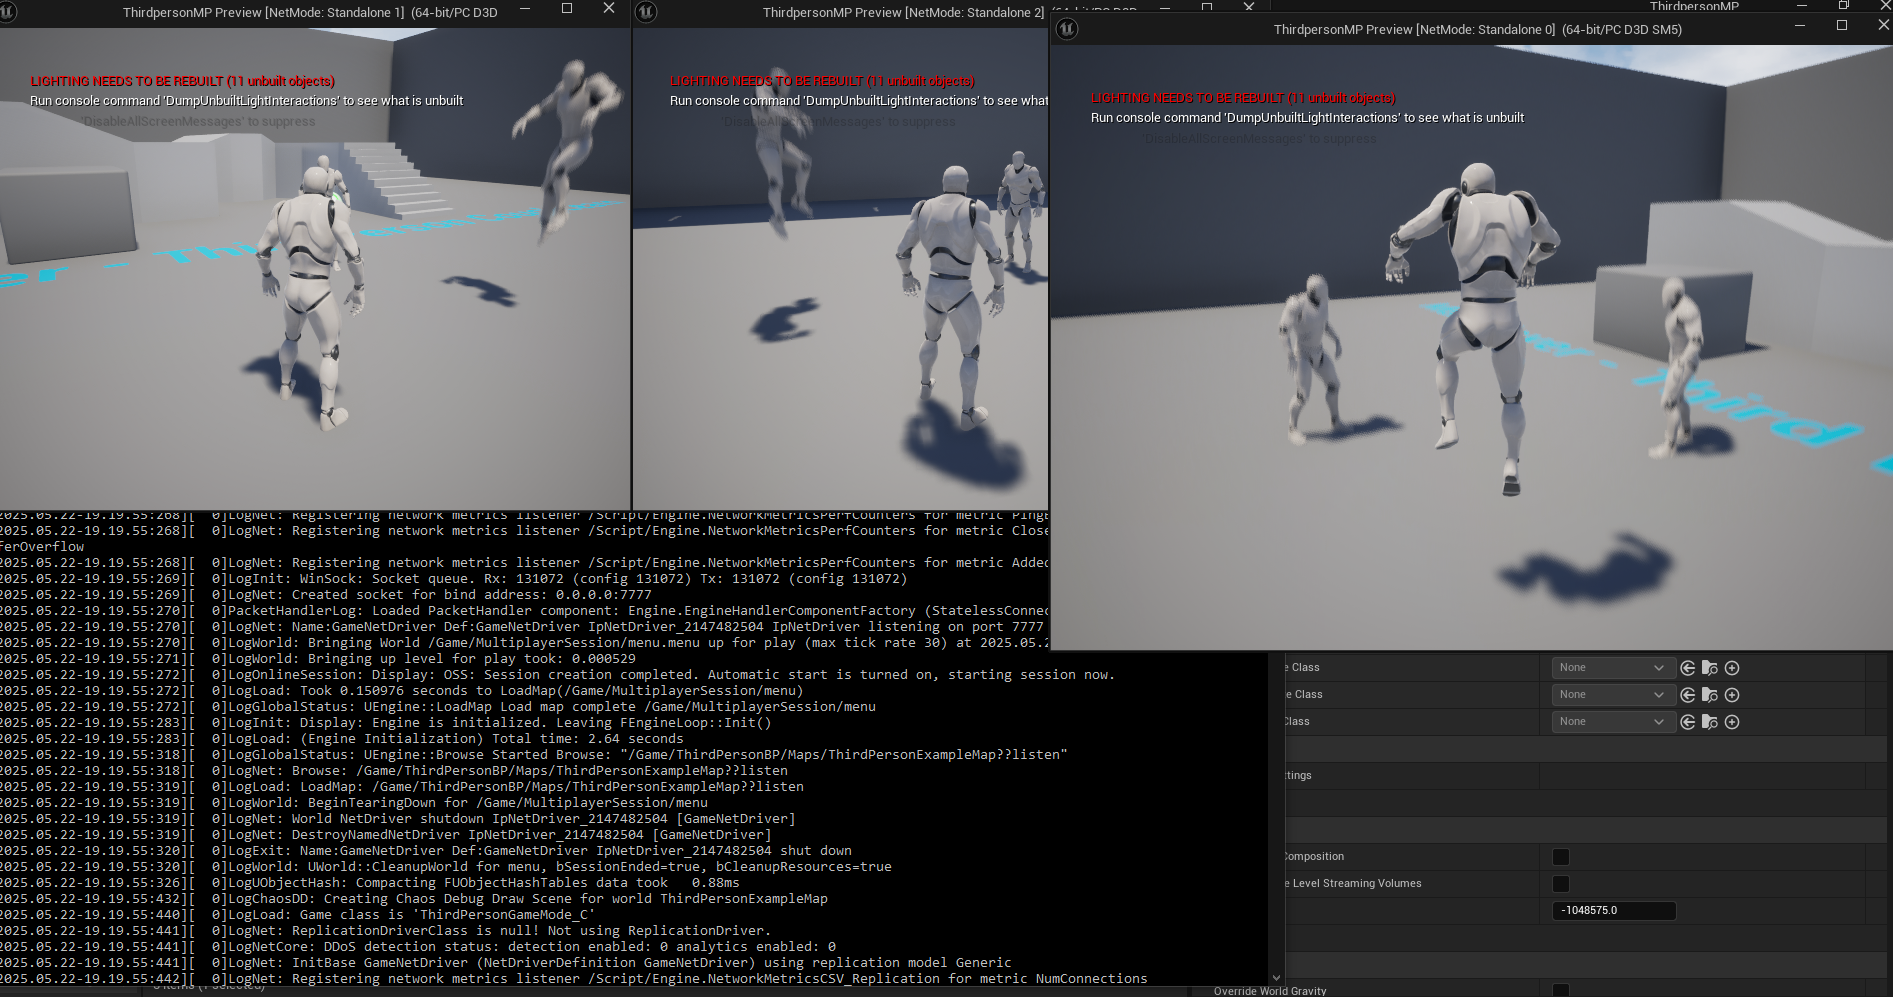
With the dedicated server running locally, clients can now connect to the hosted session. Within the Unreal Engine editor, multiple client instances can be launched (e.g., Play > Number of Players > 3, then Play Standalone Game). These clients, when configured to search for sessions, will discover the dedicated server’s advertised session. Upon joining, players will observe synchronized movement and interactions, all managed by the central dedicated server.
This demonstration visually validates the core benefits of a dedicated server: players experience consistent game logic, reduced latency, and a more robust connection, as the server acts as the single source of truth for the game state. This setup is crucial for ensuring fair gameplay in competitive environments and stable experiences in cooperative ones, directly contributing to a positive player experience.
Broader Implications and Future Considerations
The successful build and local testing of an Unreal Engine 5 dedicated server mark a significant milestone in multiplayer game development. This foundational work lays the groundwork for deploying the server to various professional hosting environments, including cloud platforms like AWS, Google Cloud, Azure, or specialized game hosting providers. These platforms offer the scalability, reliability, and global reach necessary for supporting a large player base.
Scalability and Maintenance:
Dedicated servers facilitate dynamic scaling, allowing developers to spin up or down server instances based on player demand, optimizing operational costs. However, this also introduces the need for robust server management, including regular updates, patching, and performance monitoring. Automated deployment pipelines (CI/CD) become essential for efficient server maintenance and rapid iteration.
Cost-Benefit Analysis:
While dedicated servers incur hosting costs, these are often justified by the enhanced player experience, increased player retention, and the ability to host larger, more complex game worlds. The investment in dedicated infrastructure directly contributes to the commercial viability and long-term success of multiplayer titles.
Developer Workflow and Player Experience:
Integrating dedicated server builds into the development workflow streamlines testing and quality assurance, allowing developers to accurately simulate live multiplayer environments. For players, this translates to reduced lag, fewer disconnections, and a more secure gameplay environment, directly impacting satisfaction and fostering a loyal community. Epic Games’ continued investment in Unreal Engine’s networking capabilities, coupled with community resources like the AdvancedSessions plugin, empowers developers to build sophisticated and resilient online games.

In conclusion, establishing a dedicated server for an Unreal Engine 5 game is not merely a technical task but a strategic imperative for any developer aiming to create a successful, scalable, and high-quality multiplayer experience. By understanding and meticulously executing the steps for building and configuring a dedicated server, developers can deliver a consistent and engaging gameplay environment that meets the high expectations of today’s online gaming community.
About the Author